Spotlight: Judas Priest Les Paul Rebuild
Rebuilding Richie Faulkner's Les Paul
![]()
In the first in a series of new in depth articles we look at a major repair that we did for Judas Priest's guitarist: Richie Faulkner
We brought his trusty Les Paul back from the dead after a calamitous accident.
We have been friends with Richie since he was in the band Dirty Deeds (and also playing in Metalworks near London's Camden Town Market on Sundays). We were looking forward to seeing him enjoying his role in Judas Priest replacing the departed KK Downing on the band's Epitaph World Tour. But before the tour hit UK shores we got a call from his tech to say that he had had a mishap with his beloved Les Paul in Holland and could we help out.
Naturally we agreed, and waited for the much used Les Paul to come in. It turned out to be quite a journey to get the old girl back into a fit state. Here is the tale of what we did...
Step one – Let's take a look
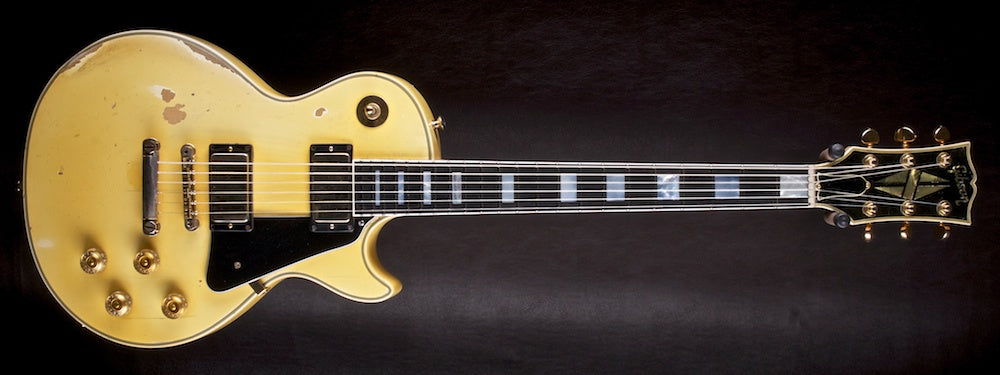
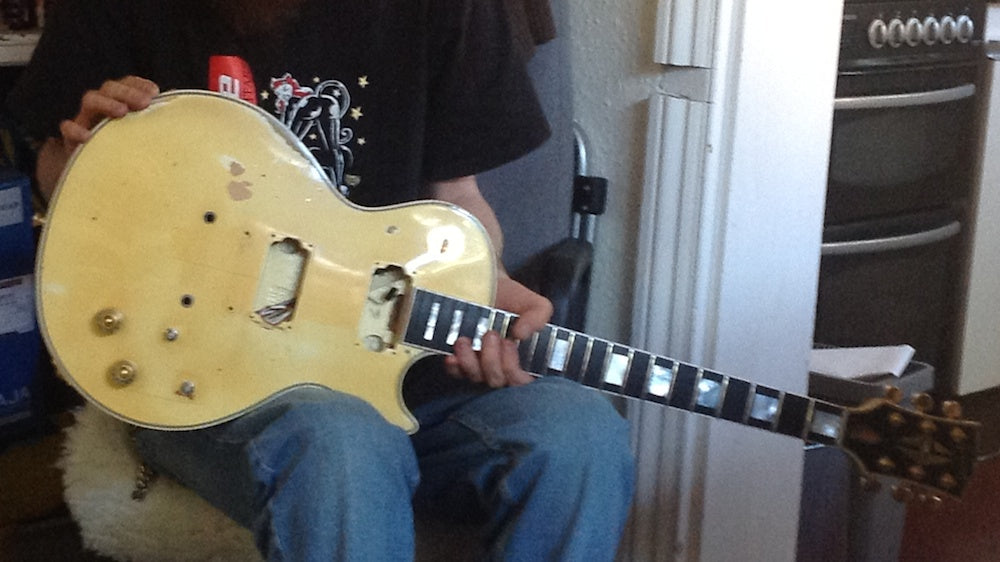
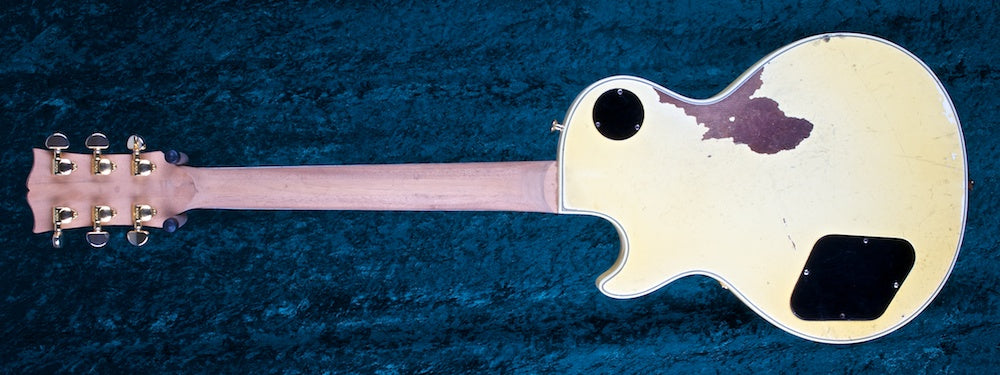
Judas Priest's new guitarist Richie Faulkner had a bit of a rock n roll moment with his prized 1974 Gibson LP custom 20th anniversary model.
The headstock was torn right off leaving a trail of splinters down the back of the neck. Would we be able to just glue it all back together and have it be gig-worthy again?
Unfortunately a similar fate had befallen this guitar a couple of times before – part of the perils that a guitar that travels the world over and over can face with airline baggage handlers and onstage mishaps.
We were going to have a serious think about what to do.


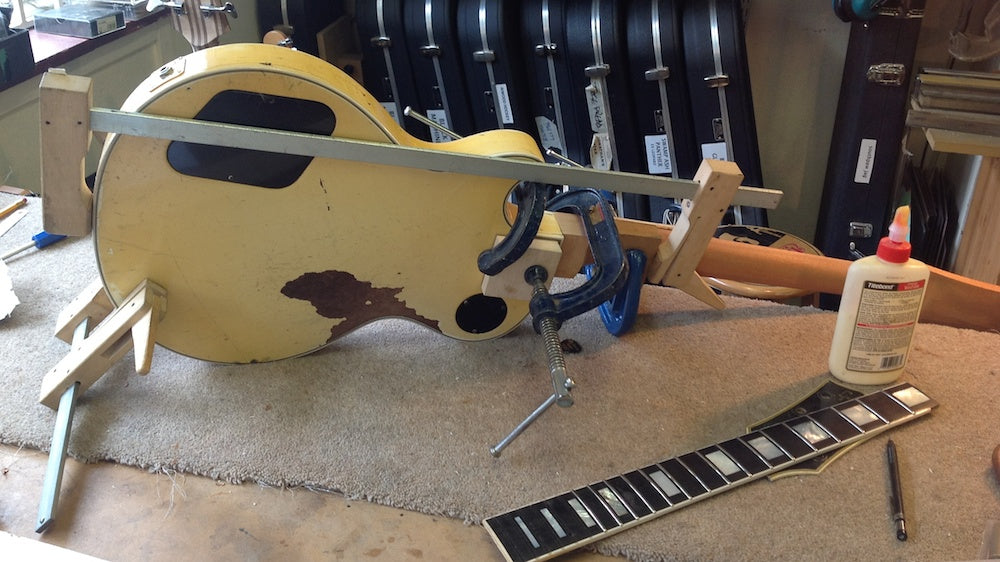
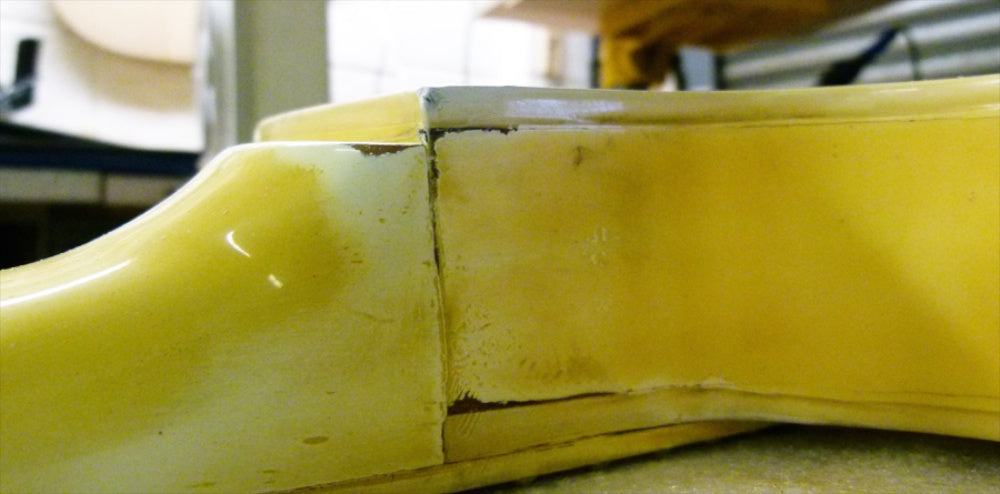
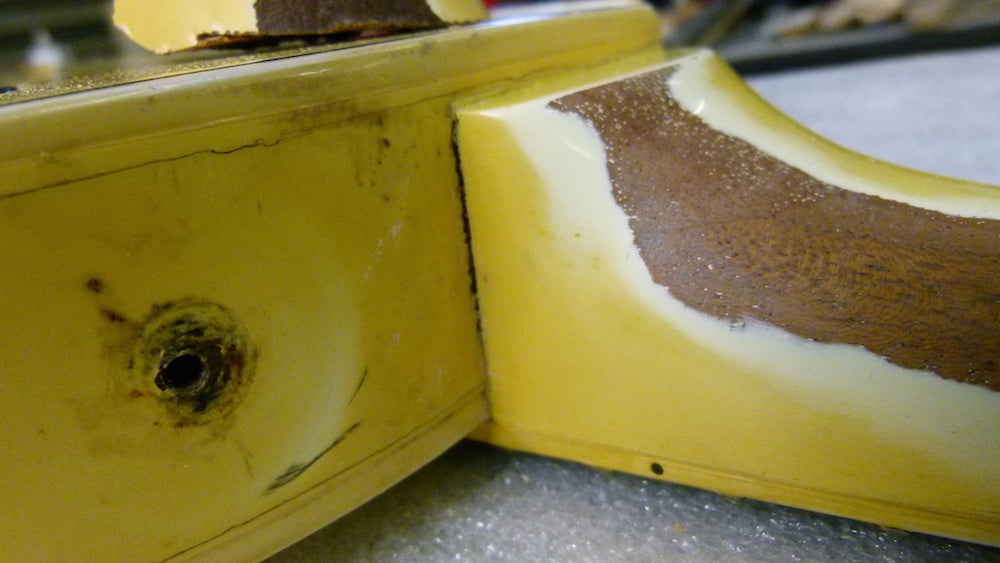
The side view shows that previous repairs had left whole blocks of epoxy in place of wood that had been lost.

A rear view shows at least two previous break lines and a pair of wooden splints put in to strengthen the repair. Sadly the wood around the splints had also split away in this break.

The slightly sorry looking truss rod sticking out.
Still intact but and thankfully didn't bend or break in the accident.

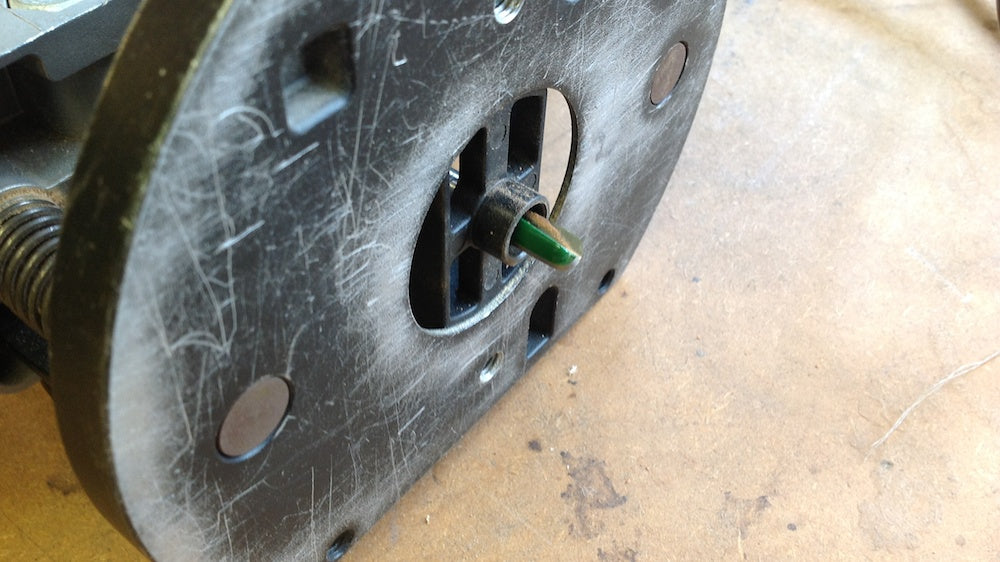
The piece that is seen coming away here would be very difficult to put back in place and guarantee future stability.

Further problems would include that the plate and nut of the truss rod had pulled through the wood taking splinters with it.
This really wasn't going to go back together easily – or at all!

Another view showing some of the pieces.
We pretty much figured that our best option was going to replace the whole neck... but how the hell! That was going to be a serious task...

Getting Started – Removing the neck
First we were going to have to remove the old neck – no mean feat.
Our first attempt would be to steam the neck out to weaken the glue joint. Two holes were drilled under the 18th fret and superheated steam pumped in.
It simply wasn't having any of it it would seem, so we had to go to plan B and cut the neck out whilst causing no damage to the fingerboard as we wanted to save it to re-use.

Once the neck was out we had to remove the fingerboard from the neck wood. This was done the old fashioned way with saws and chisels. Here you see Tom carefully removing layer after layer of mahogany.

Another view of the separation process. We wanted to make the end result be to as familiar as the original as possible, maybe with a few small improvements, so careful extraction of the fingerboard was the only way.

Retaining the headstock fascia
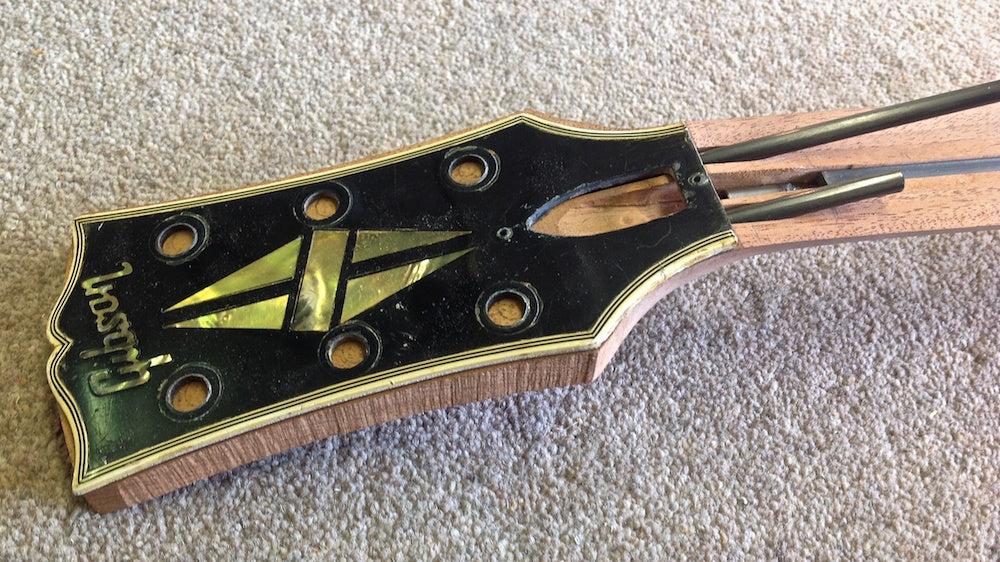
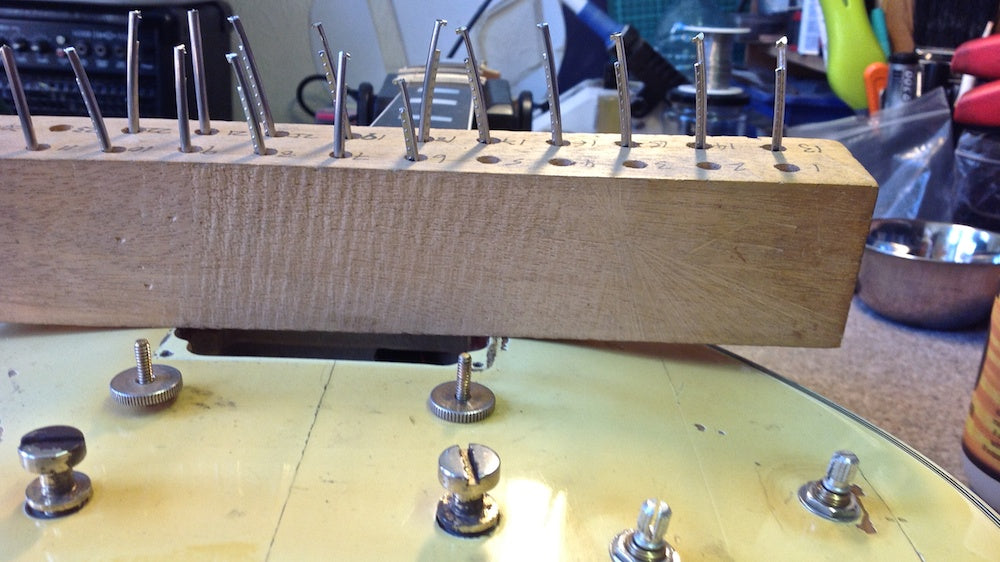
Here is the back of the old headstock with the serial number stamped in.
There was a number "2" stamped in as well indicating that the guitar was considered a factory second - maybe a small finishing defect at the time. Our task was to remove the headstock fascia with the inlaid pearl logo and diamond.

We chose a more mechanical method of removal for this process as we figured a way to bolt the headstock safely to the base of our milling machine.
Our intention was to use a router to cut away layer after layer of the headstock until there was just the overlay and binding left.

Here we are part way through the process. We worked carefully around the machine bolts holding the piece in place. Back and forth, pass after pass, trimming the mahogany down.

You can see here that the hard work is paying off with us getting down to the back of the headstock overlay. Time consuming but staying safe.

We have cut away nearly all the headstock now, and working around the bolts holding the piece in place. Shortly we would turn the whole thing around and remove the remaining wood under the nut and bolts.

Here we are – all done! Just a bit of clean-up required.

Really pleased that we could salvage this part as it will save the identity of the guitar.

A new neck
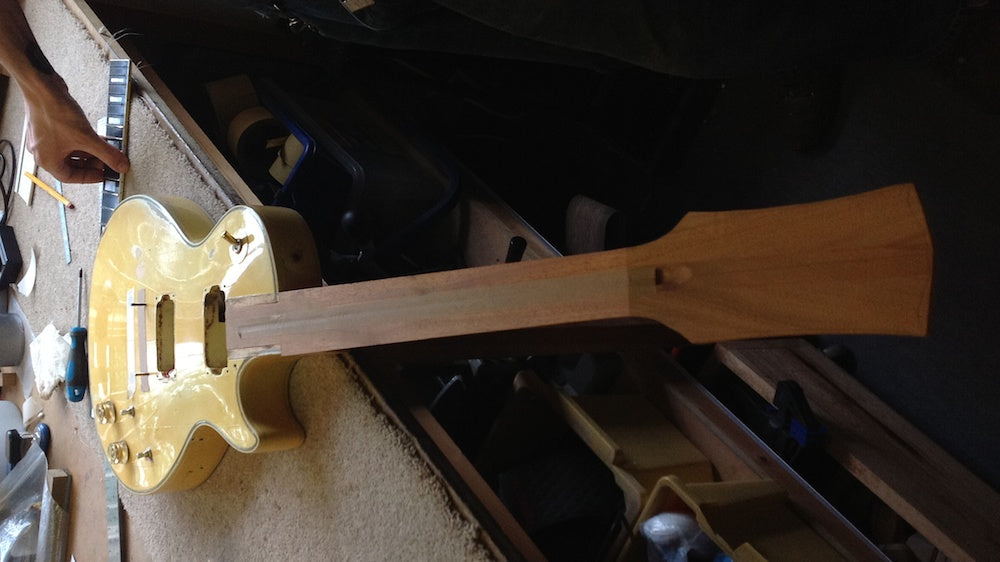
We had made up a neck from a triple laminated piece of mahogany. We use 3 piece necks with quarter-sawn wood for rigidity and stability, as well as a better tone. Here we are just carving a recessed tenon to fit into the slot in the body.

A lot of care was taken to get a snug fit. Going back an forth, trimming what needed trimming until an almost airtight fit was achieved.

Here is the mortise joint in the body that we had to fit to.

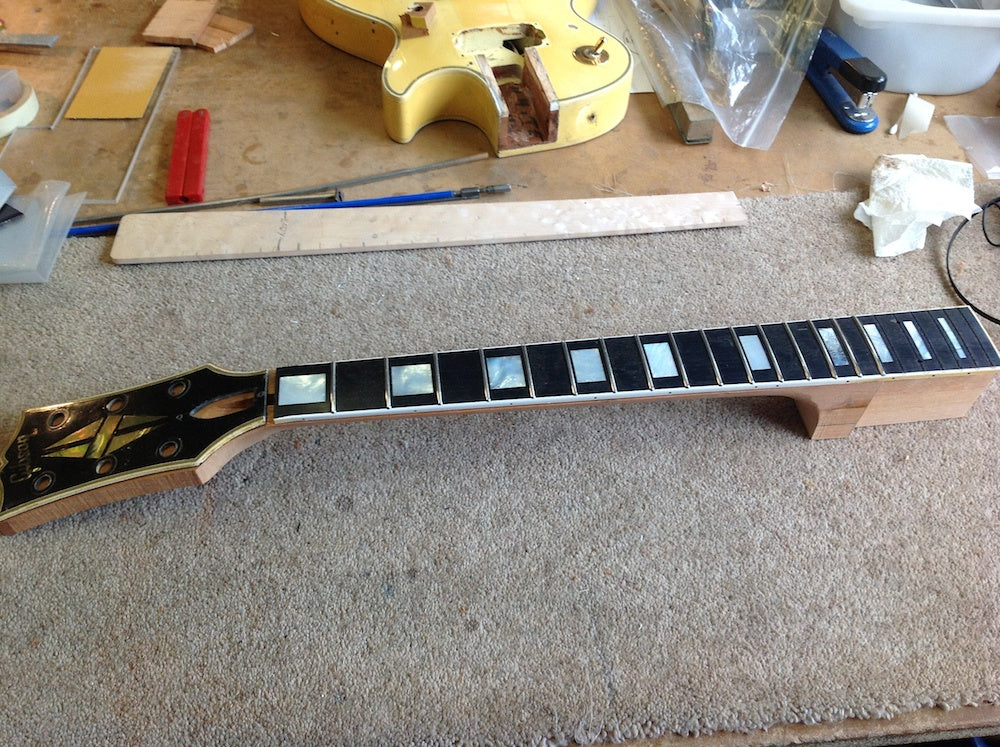
The salvaged headstock overlay and fingerboard. We would still have to re-fret the neck once it was all assembled, as all the processes as well as the original accident were bound to have messed up all the levels. Needless to say we would also have to level the wood of the fingerboard before the frets went in too.

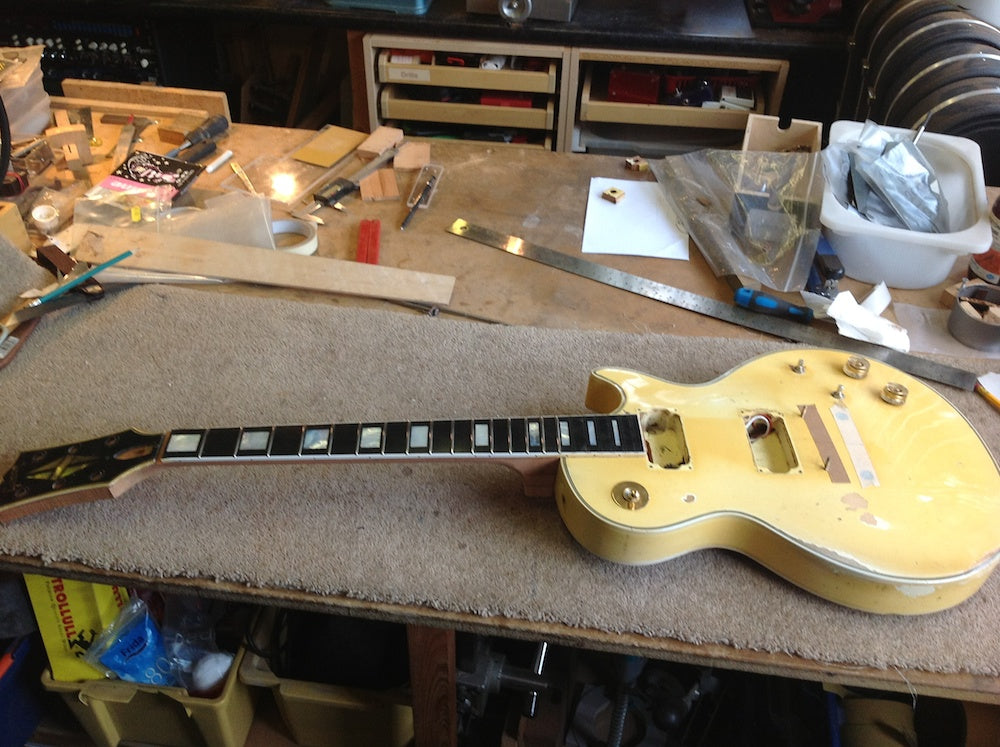
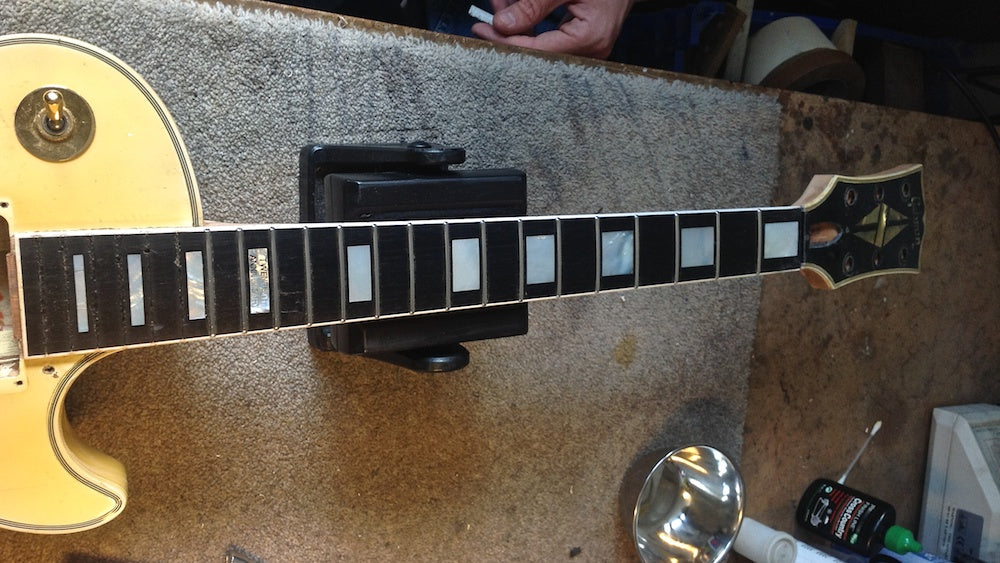
A quick test run of what the neck will look like – yup, looking good.
Test fitting the neck – note that the heel isn't carved yet – we'll wait until it's glued in to do that. However we have ensured that the angle of the neck will ensure correct bridge height with good action.
Ready to be glued in. Layer of tape holding the truss rod in place.
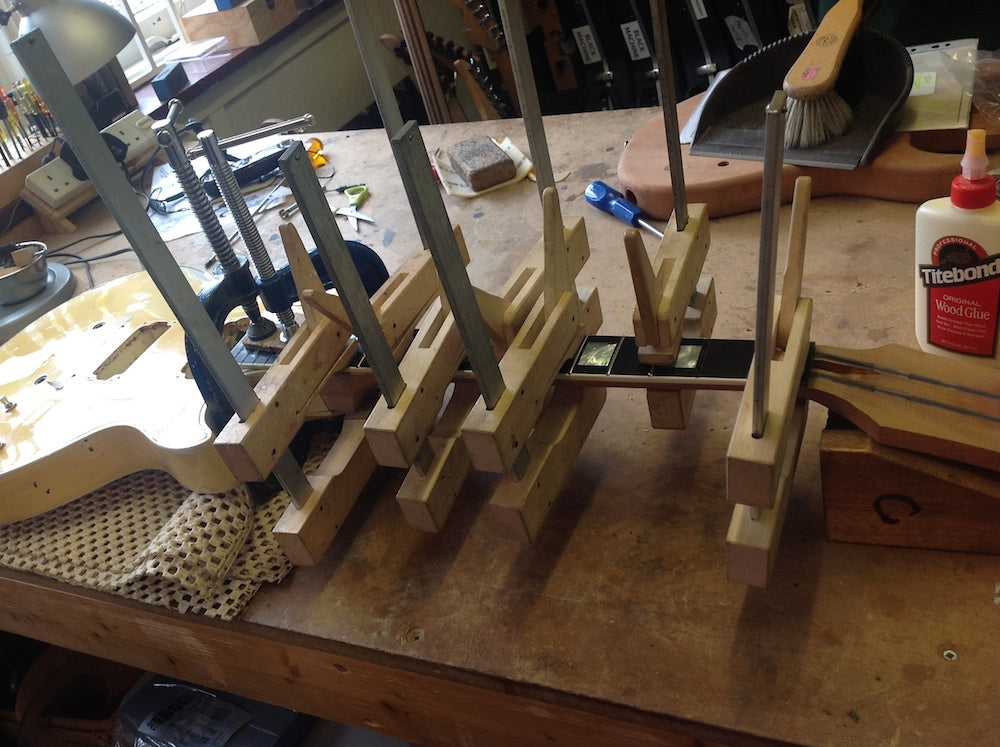
Clamps ahoy! Let the gluing commence – no looking back now.

Keeping the pressure on from all directions with lots of clamps.
Strengthening the headstock
Now the neck is in we had a few thoughts about the fact that this guitar had had it's neck broken a few times before. We wondered if there was anything we could do to strengthen the neck and headstock area to prevent future mishaps, other than the 3 piece construction and the inclusion of a volute. Recent successful experiments with carbon fibre reinforcement on a broken Washburn N4 guitar made us wonder if we could apply a similar approach to this guitar.
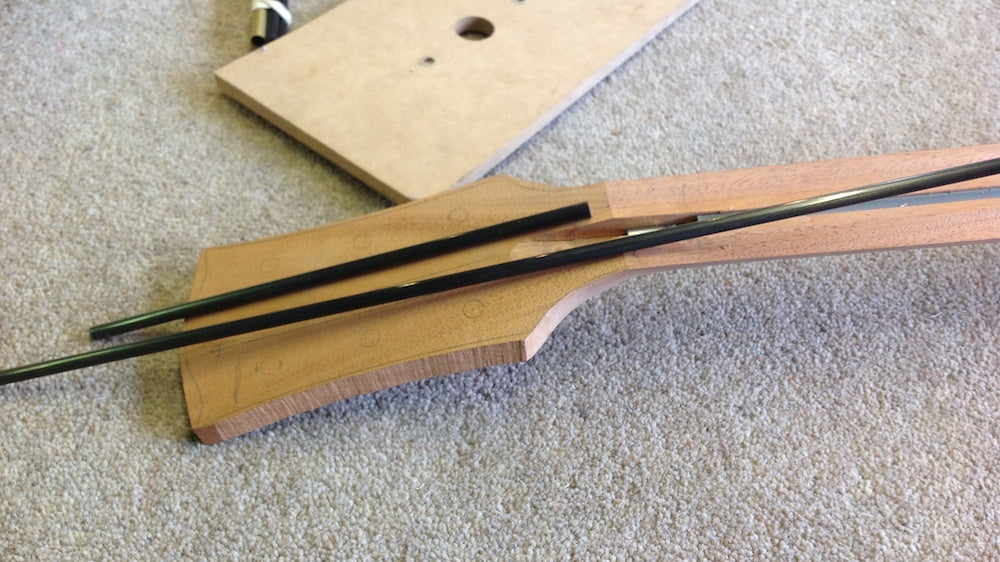
We had some 6mm carbon fibre rods – very stiff indeed. If we ran these down the headstock right into the neck then it would become stiffer and stronger and much less likely to ever get broken again. We got a round nose router cutter to make snug channels to inset the carbon rods. the router is fitted with a guide bushing too.
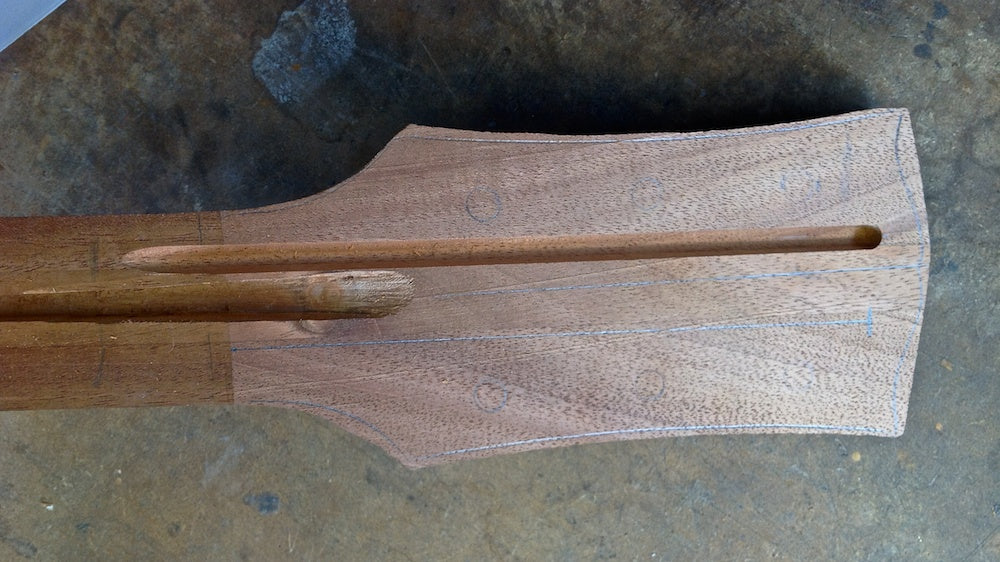
Guitar with a template attached to run the router in to create the channel.
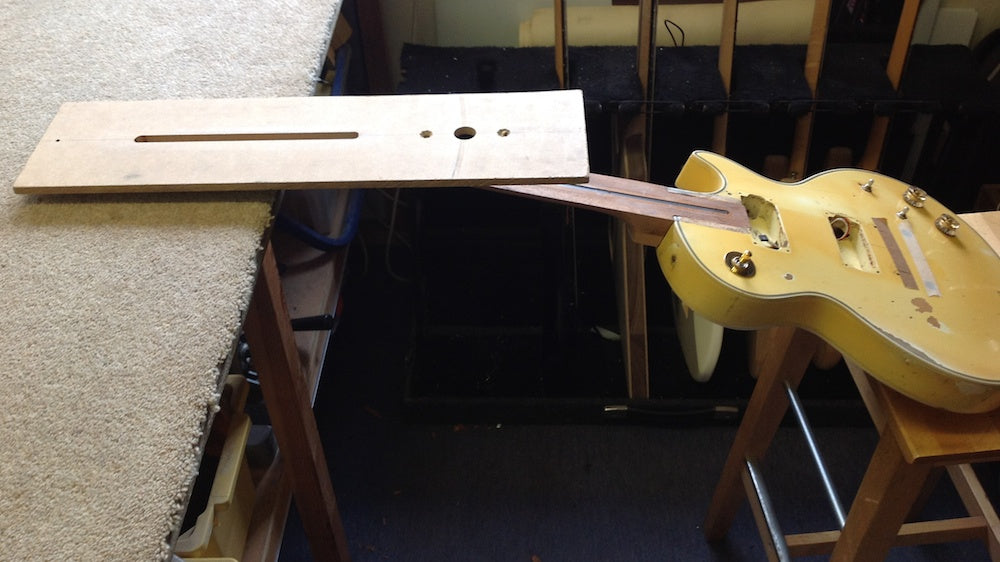
Off we go – let's make the channel.
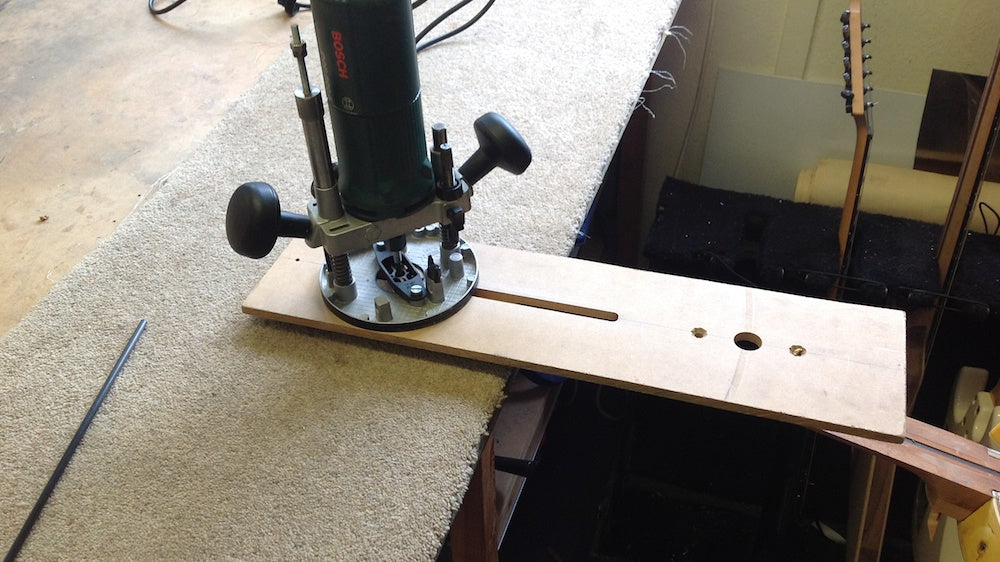
One channel cut. The bottom is curved so the rod will sit snugly in there.
Note how it will run out under where the fingerboard will go.
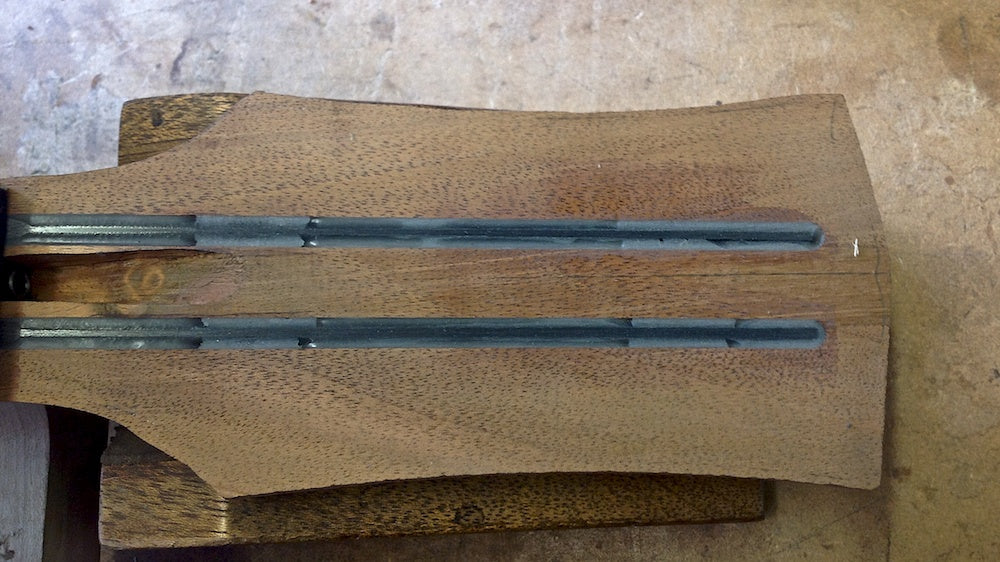
Two channels cut. Time to test fit the rods.
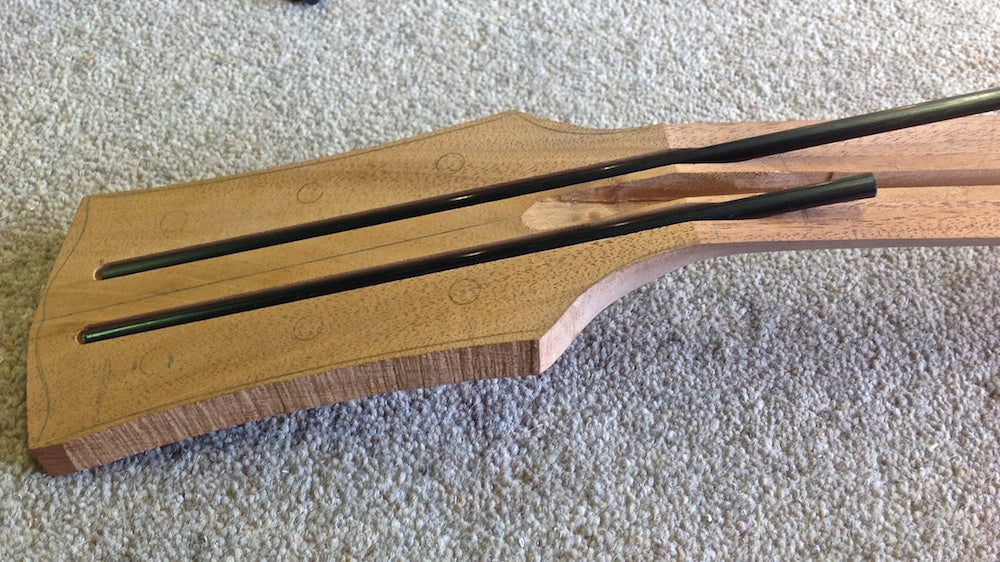
Making sure the headstock overlay will sit neatly on there.
Time to get busy with some epoxy glue. Pass the latex gloves!
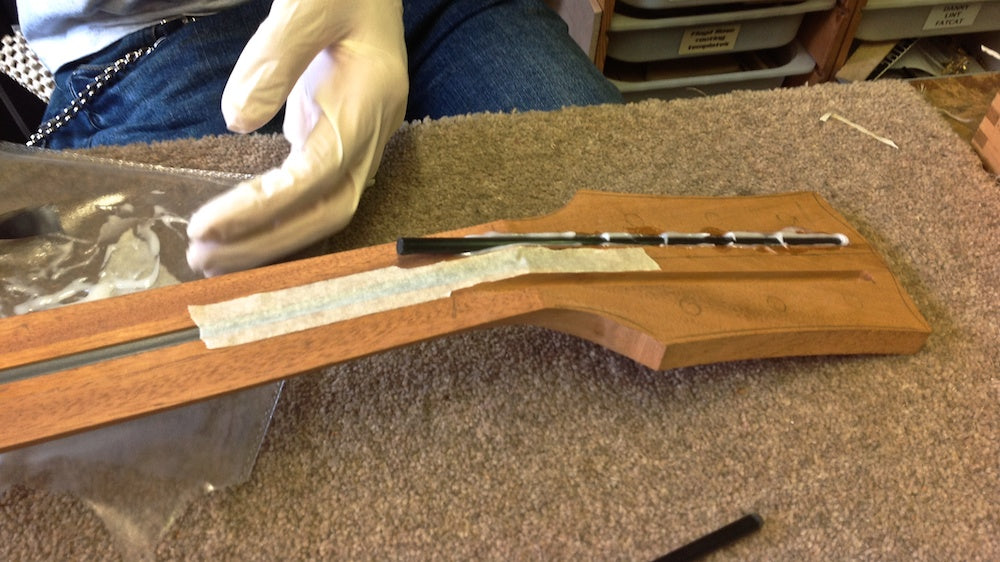
Both rods in place and a layer of glue over the top of them. This will be made flush before the overlay is glued on.

All dried and levelled. Damn it's stiff now – no flex in there at all. We're pretty sure this could make a tonal improvement too.
Time to glue it together
Gluing up the fingerboard. Good job we had clamps free.
Next will be gluing the headstock front in place.
The heel all carved to shape. Looking good!
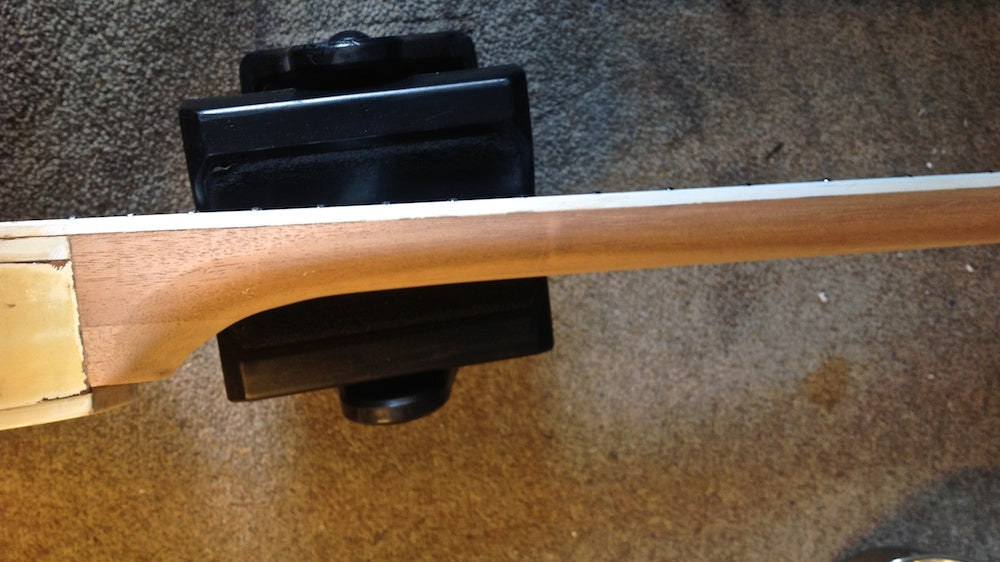
It all feels like a guitar again...
Re-fretting and a new anniversary
Although it's looking good these frets all need to come out, the fingerboard levelling, and new frets installed.
We think this guitar had been re-fretted a few times before as well.
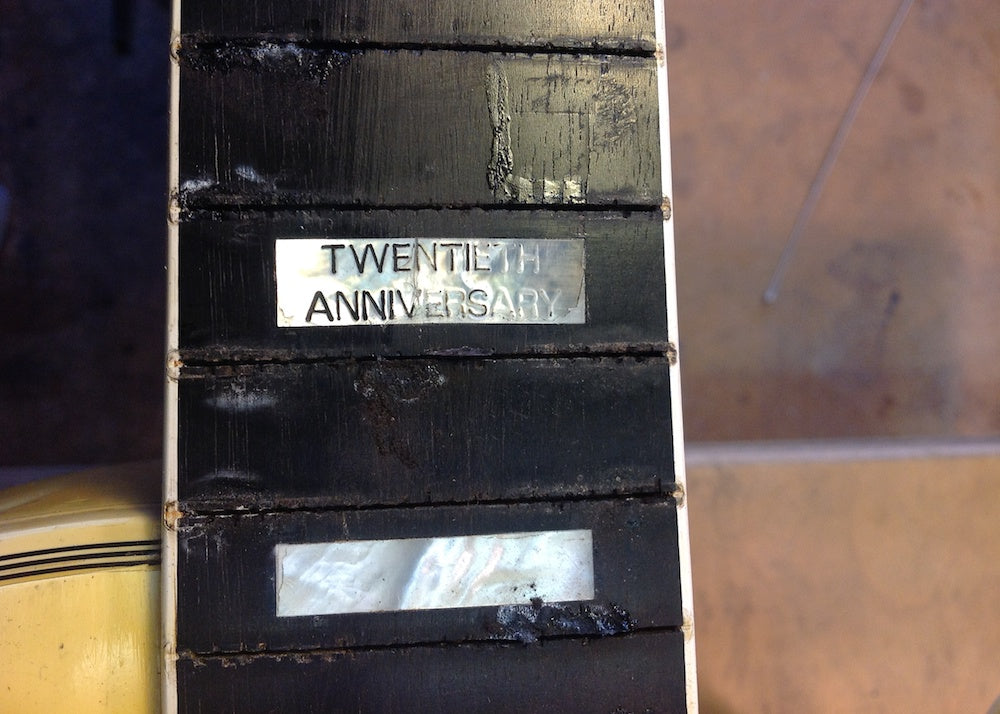
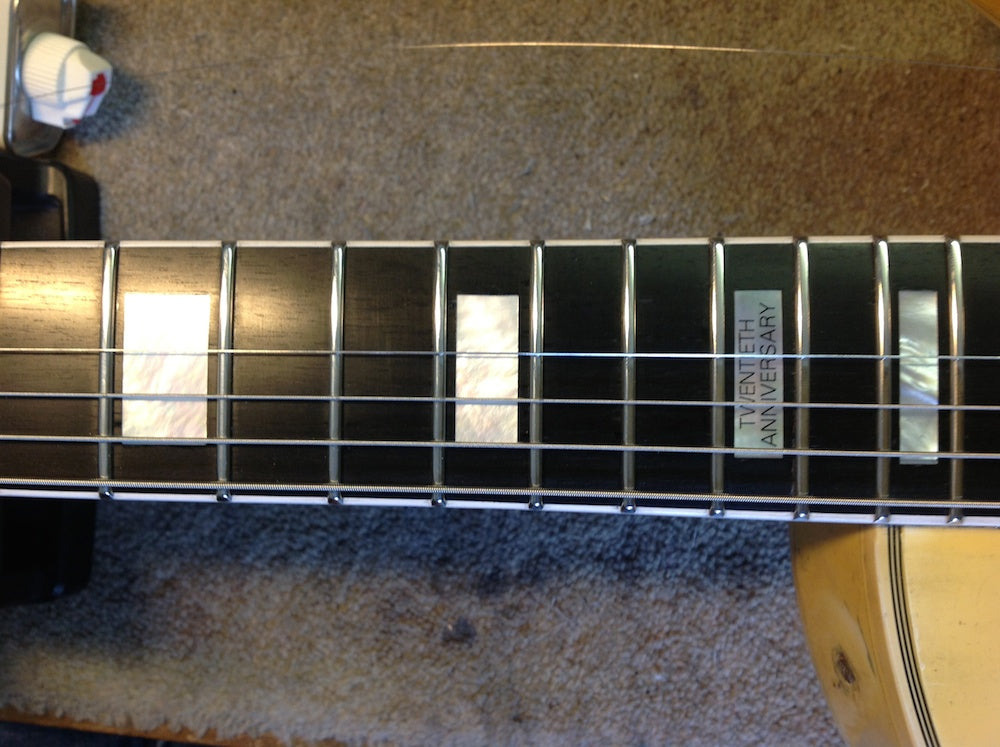
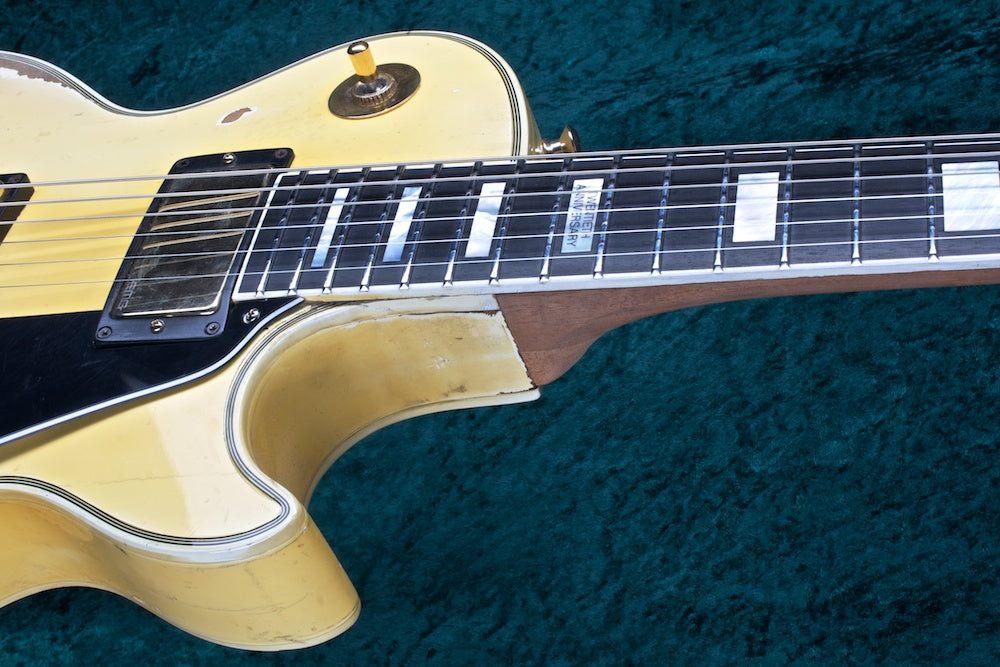
Once we took the frets out and looked at the board before levelling it again we realised that the 20th anniversary inlay was looking a bit sorry – much of it's detail had been lost, both from playing wear and tear, and from previous fretboard skimming. We might have to see what we could do. Maybe a fresh bit of pearl with a new engraving.
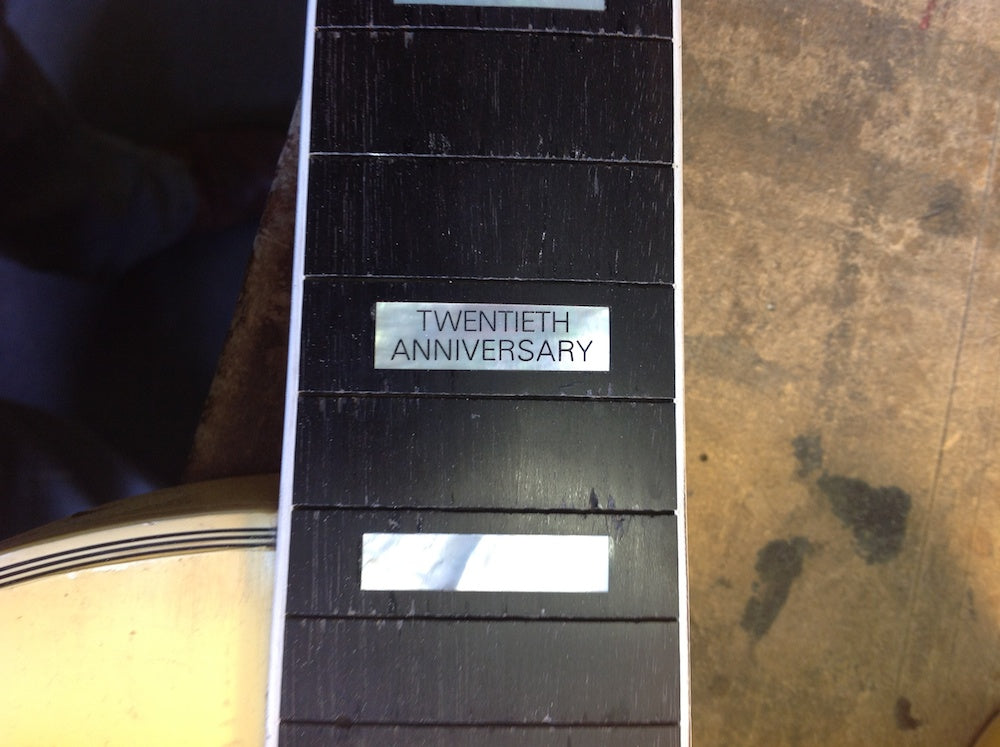
So we did just that. We installed the pearl, and levelled it flush, then took it back out of the guitar and had the pearl engraved at a local engravers. We then re-inlaid the piece.
Fret-wire was cut and made ready to install.
Trimming the tang on the underside of the fret-wire so they can easily fit within the binding.
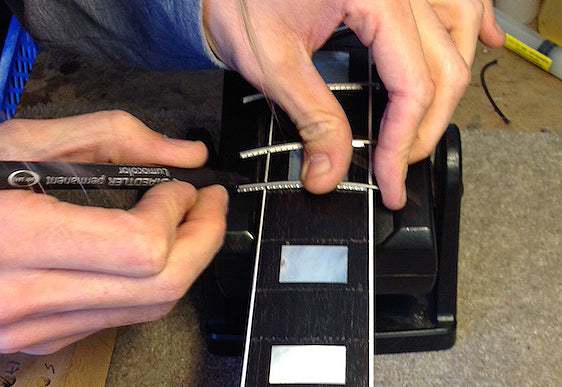
Frets installed and levelled. Note how we round and smooth the ends to feel comfy whilst giving maximum playing surface.
A new Earvana nut
We installed one of the Earvana compensated tuning system nuts. Richie loves how much more in tune these make his guitar.
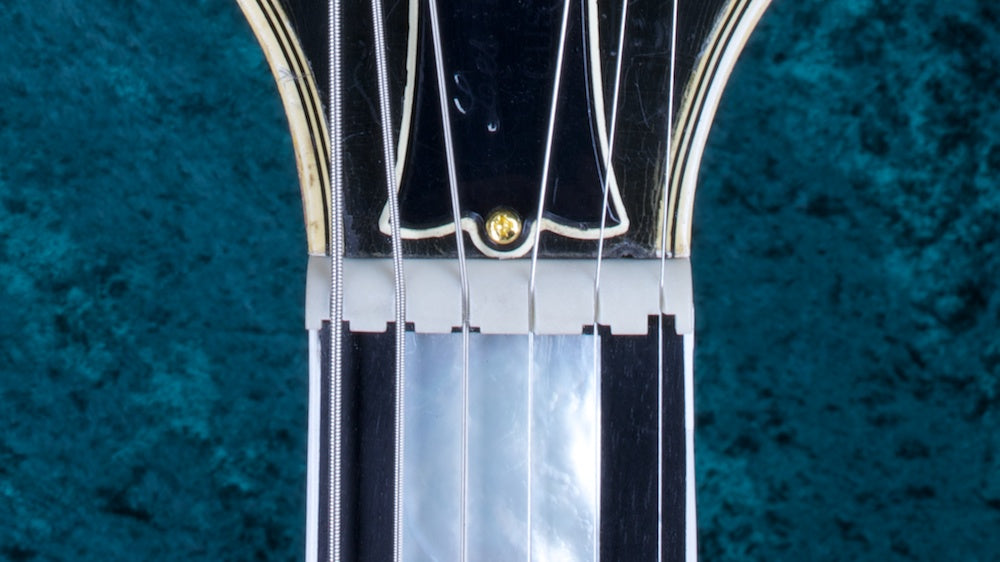
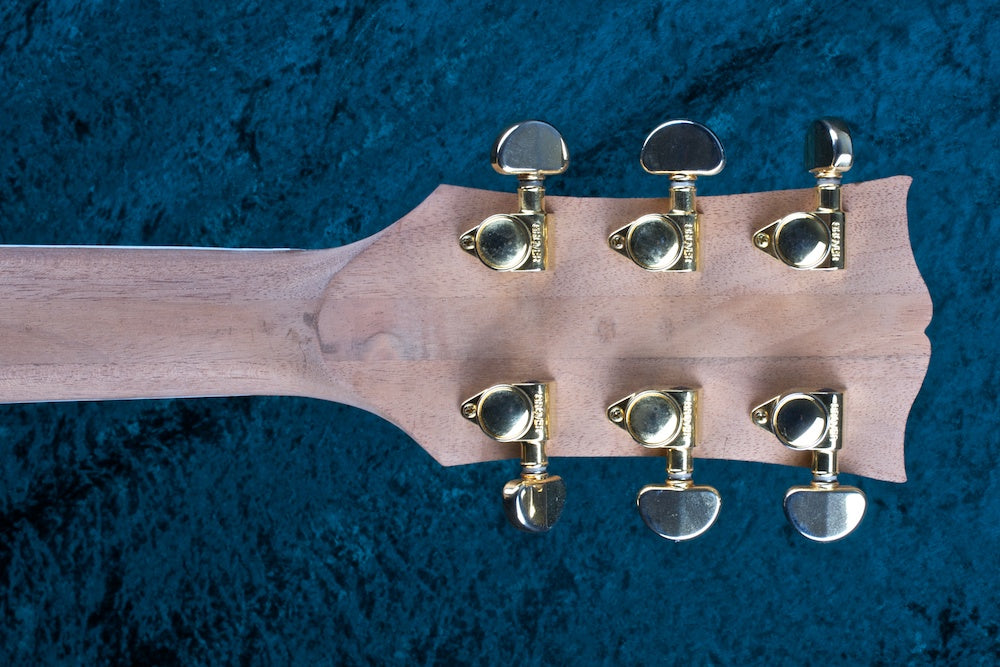
Headstock looking good and unaltered.

Back view – all looking good, but maybe in need of some paint.
You can see the three piece neck construction here.
We gave the guitar a good thorough playing test, and were very happy with the result. We definitely thought that the carbon rods gave the guitar a fantastic sensitivity – no energy lost in making the headstock vibrate - very good for quick transient notes.
Once we had played it to death it was time for Richie's tech to get it off to someone to do the paint (as we don't do distressed finishes).
Richie had Dan at DM Guitars do a distressed paint finish to match the wear on the guitar. We gave him a section of the heel that we cut off so he could match the colour.

We think he did a lovely job getting the worn character just right. It gave the final touches on a very thorough and painstaking job.
Back from Beyond The Realms of Death
Richie was pleased as punch to have his faithful old LP back and is currently rehearsing with it for the next Judas Priest tour.
Expect to see her in action on a stage soon.